
CLICK HERE FOR FREE BLOGGER TEMPLATES, LINK BUTTONS AND MORE! »

About the Celebrating Ordinary Moments Blog

Mission Statement
Thank you for checking out my blog. I started this blog to create a place where people are able to find inspiration and share ideas. I find myself surfing the web looking for inspiration that is unique and different. If I find an interesting tutorial I'll share it with you. I will include a "live" link back to the original blog, store or web site so that you may have the option to visit and learn more about the designer and other services, class or kits they may offer. By posting tutorials I am hoping to help inspire people that are interested in creating something fresh and new.


Terms of Use for my Personal Designs or Patterns.
When listing completed projects on eBay, blogs, etsy, facebook, personal websites, forums or online venues, or if using these patterns for a project submitted to magazines or other publications, it is required that credit be given to Corrine Paul in a reasonably visible way. Example; “Pattern used from Corrine Paul http://celebratingordinarymoments.blogspot.com/."

Tuesday, January 18, 2011

Dinosaur Tags for LSHD Tag Swap w/Tutorial

Made by Corrine Paul

Little Scraps of Heaven Designs Tag Swap

We are in groups of 6 so we make 6 tags and send them to a designated person and she sends 1 of our own tags back with 1 tag from the five other people in the group.

I am using Little Scraps of Heaven (LSHD) Dinosaur Pals Collection

We are required to make 1 tag per person but I am making two for each person in the swap.

I thought the tags would be great on a child's birthday presents or gift bag, label an Easter basket, cute refrigerator magnets, use in a scrapbook or picture frame.

I used Recollections Cardstock Paper, Primary colors

I rub a pencil on the back side of the pattern so I can trace the pattern on the cardstock

I cut out all my pieces and decided to make a sample set to make sure I liked them.

Inked all the pieces of the sample set

Assembled the dinosaurs. I am happy with the look
so I decided to go ahead and make the rest of the tags.

Inking the rest of the tags

I hand cut all my paper piecings except the fonts so I had to come up with another way to use the pattern w/o so much hand cutting. I have a set off hole punches that were PERFECT!!

I used an oval punch to punch their toe nails.

I used the oval punch to make the whites of their eyes and I used one of the smaller hole punches for the black part of their eyes. Using the set of hole punches made this a fast and easy project. And it didn't change the look of the original design by Tricia Moore.

Just letting them dry before I bag them up and mail them off

I can not wait to use my set on a child's birthday present or gift bag. If I want to attach it to a gift bag with a piece of ribbon I can simply use a hole punch to make a hole where ever I need to and loop some ribbon through it.

I actually made and extra set for myself so I can make refrigerator magnets out of them.

I hope everyone else in the swap think they are as cute as I do~

Sunday, January 16, 2011

6 x 6 Paper Bag Mini Album w/Instructions


Made by Corrine Paul
2010

Basic Paper Bag Album instructions

Step by step directions

Materials
- 3 Paper Bags (any size)
- Hole punch tool
- Eyelets, book rings, ribbon or fibres to bind
- lots of good stuff to cover and embellish your pages

1. Take your 3 paper bags and lay them on top of each other alternating the ends.


Corrine's NOTE: I use six 6x6 paper lunch bags for my paper bag albums.

paper bag album instructions

2. Fold them in half to create a book. Notice how the three open ends each form a pocket.

Punch three to five holes along the spine.

Corrine's NOTE: As you can see by my example at the top of this post I punch 2 holes in my paper bag albums.

paper bag album
3. Set an eyelet in each hole and / OR thread a couple of lengths of ribbon or fibre (or a combo of both!) through each hole and tie off.

Corrine's NOTE: I use Book Rings in the holes and tie my ribbon to that. You can find Book Rings in the office supply area of WalMart, Meijer, etc...
paperbag album binded
4. Decorate your album as you choose using a variety of papers, embellishments, ribbon and any other creative elements in your scrapbooking stash. Finshed paper bag album
5. Create at least 3 large tags slightly smaller than the album itself to fit into the three pockets formed by the paper bags. Use them to hold extra photos or journalling. paper bag album tags

Paperbag Album Tips

  • I sometimes find it easier to decorate each page of the album before I bind it together.
  • Try different binding methods like, bind-it-all o-rings, paper binding, metal binding clips, brads, eyelets, book-rings, Japanese stab binding or ribbon.

Thursday, January 13, 2011

Hot Pink and Black Cupcake Tin w/Goodies

Hello Everyone, I wanted to share this with you. If you want to know more about the designer and other services, page kits or classes they may offer please visit their blog, store or web site. Enjoy!

http://www.twopeasinabucket.com/gallery/member/123471-dalayney/1558929-hot-pink-and-black-cupcake-tin-w-goodies-inside/


by dalayney

Best Friends Altered Band Aid Tin and Mini Scrapbook

Hello Everyone, I wanted to share this with you. If you want to know more about the designer and other services, page kits or classes they may offer please visit their blog, store or web site. Enjoy!

http://www.etsy.com/listing/51566079/best-friends-altered-band-aid-tin-and

From nycole

Best Friends Altered Band Aid Tin and Mini Scrapbook


Best Friends Altered Band Aid Tin and Mini Scrapbook Best Friends Altered Band Aid Tin and Mini Scrapbook Best Friends Altered Band Aid Tin and Mini Scrapbook Best Friends Altered Band Aid Tin and Mini Scrapbook Best Friends Altered Band Aid Tin and Mini Scrapbook
Show off your photos in a unique way!

Tin measures 3 1/2 by 3 inches and the handles is decorated in coordinating ribbon.

Inside the tin is a mini scrapbook album with 8 pages to add your mini photos. The album measures 10 inches by 3 1/2 inches.

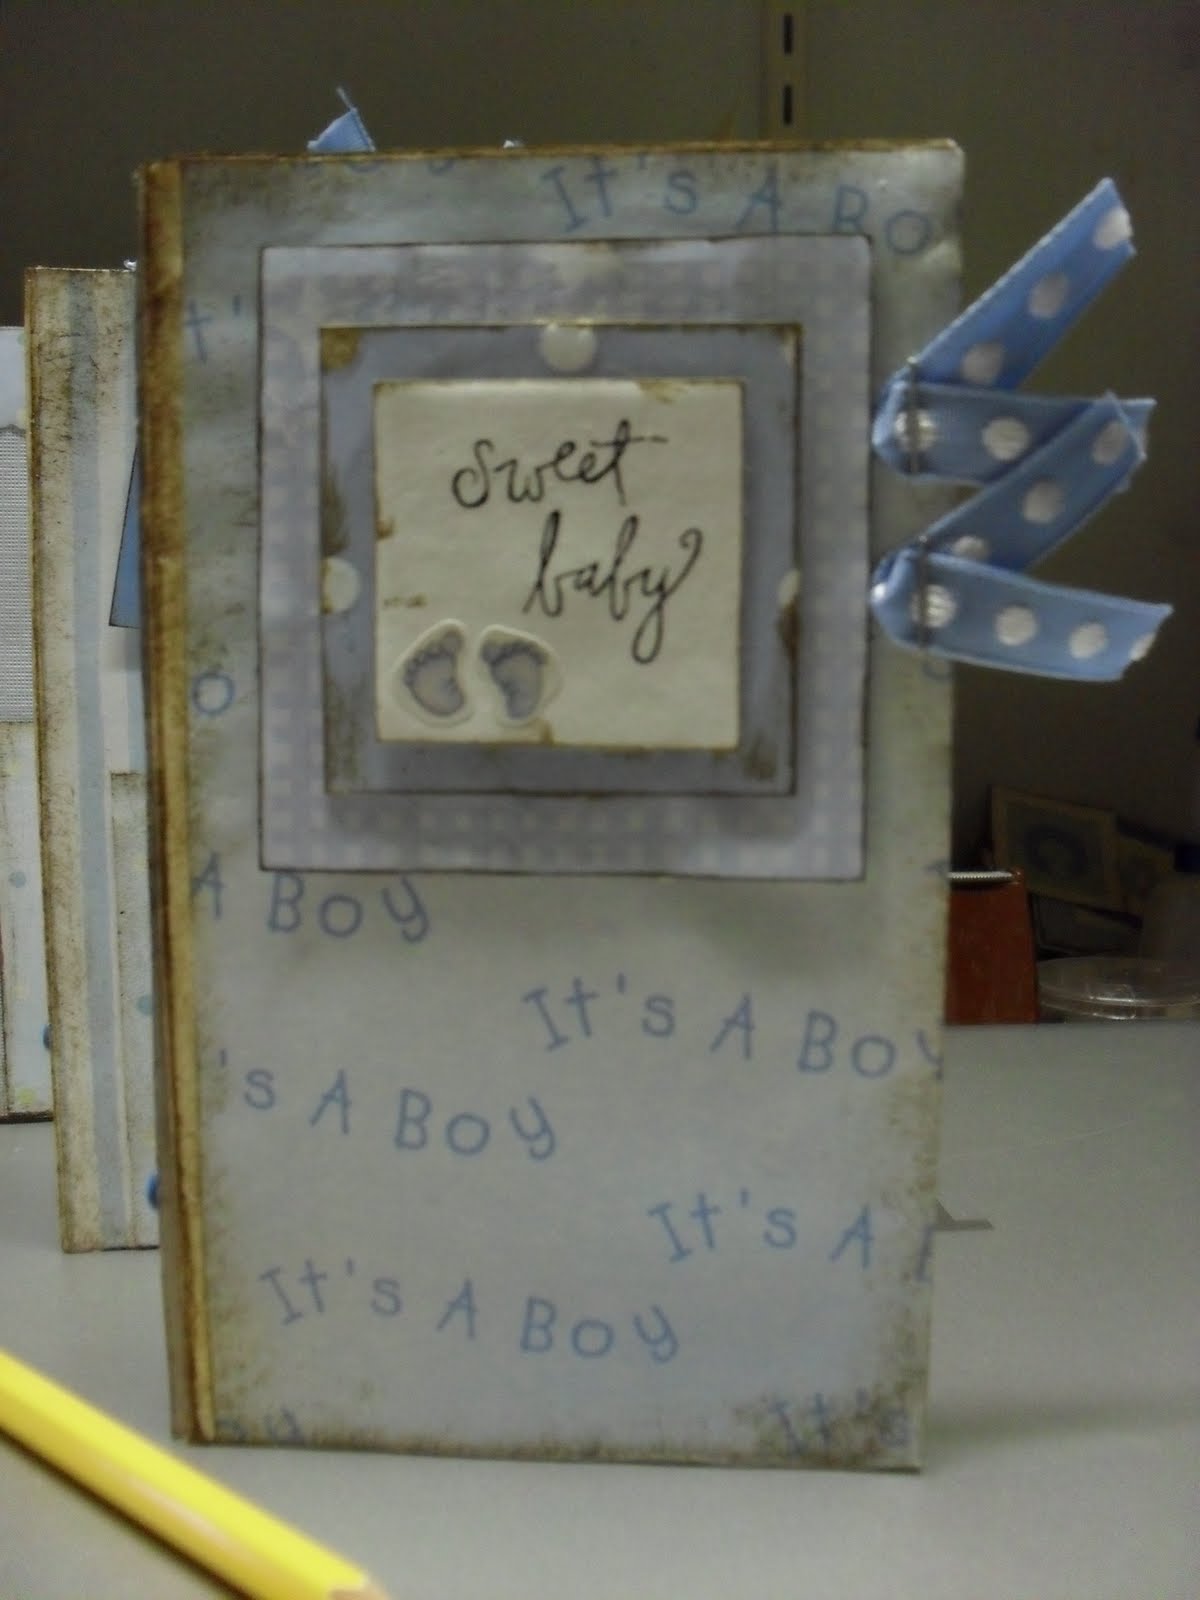
Baby Sweet Baby File Folder Album


Made by Corrine Paul
2011


Fiskars "Woodland Tree" Vacation 12 x12 Layout w/Tutorial

Made by Corrine Paul
TREE~Fiskars "Woodland Tree"
FROG~Little Scraps of Heaven
Feeling Froggy Collection

I bought a NEW toy and had to use it and SHARE it with you

Paper used, The Paper Studio Brown Solid
Using the Fiskars "Woodland Tree" stencil made this layout fast and easy

Inking the edges of the hearts that will go on the tree

Cutting chipboard that will I will glue the hearts on to give a little dimension to the tree

The pattern for the tree w/hearts is on the package

Trying to show that the chipboard isn't real thick, it is just right for this

Adding journaling strips and photo mat

I used one of 4 frogs in the Little Scraps of Heaven "Feeling Froggy" Collection

I used the VACATION, ATD Momenta "Wish You Were Here" Chipboard Titles

Recipe Clip w/ Tutorial


Altered Giant Clothespin Tutorial

Hello Everyone, I wanted to share this with you. If you want to know more about the designer and other services, page kits or classes they may offer please visit their blog, store or web site. Enjoy!

http://www.craftcritique.com/2007/05/altered-giant-clothespin.html

Reported by Melissa Norris

I think besides coloring or projects in school, some of the first crafts I ever created were of altered items; mostly personalizing picture frames or projects for school. My love for altering has definitely grown from there. The choices are endless when it comes to purchasing blank items that are begging for some Mod Podge or paint, but for this article I decided to go with giant clothespins.

The one I'm altering came from Michaels for $1.99US and is made by Provo Craft but they can also be found from places like Oriental Trading Company and Eclectic Paperie. They can be found in plain wood or already finished in white or another color so choose what would work best for your project.

I started by tracing the large flat side onto the back of my paper. I also chose to cut out the 1/4 inch where the wire sits because I wanted that look but you could also cover it completely. I brushed some Mod Podge on with a cheap foam brush and placed my paper. Here's an important tip; make sure you take some sort of flat edge (bone folder, ruler, I used a Pampered Chef scraper) and run it along the paper to get all the bubbles out. Keep running it over a few times so that the glue gets tacky and holds the paper down. Repeat this step for the other side.


For the sides I used the reverse side of my designer paper (2 sided Au Chocolat by Stampin' Up) for a nice contrast but you could keep it the same if you like or not cover it at all. I cut 3/4 inch strips, which is the widest part of the side, then traced the shape on the back side. After tracing the shape, I held the cut out piece onto the clothespin to make final trims so that it fit well. Then again I attached it with Mod Podge and ran the scraper over it to remove the bubbles and did both sides.


After letting it dry for a few hours (while I watched Greys Anatomy *hehe*) I came back and sanded the edges with a fine grit sanding block to remove any bits that went over an edge and to give it a more finished look. It also makes it more smooth to the touch. After sanding, make sure you wipe the clothespin down with a towel to remove any dust. After this I covered the entire clothespin with another coat of Mod Podge to seal it. Put as many coats as you feel is necessary. My clothespin will be used in my kitchen to hold recipes, so I put 3 light coats of Mod Podge since there will be steam and food splatters and stuff.

After the final coats are dry comes the fun part, embellishing. I chose to limit my embellishments to a few ribbons since I have a 1 & 1/2 year old running around who thinks these are super fun and likes to grab them off the counter. But you could add ribbons, chipboard, flowers, and any number of fun items.


I really enjoyed making this clothespin and am working on another one for my office. They are so handy for holding quick things like notes or recipes or could be used alone to hold pictures or the cards you've made or received. So go pick one up and pull out those scraps of designer paper and make something beautiful!!

Sweet Baby File Folder Album


Made by Corrine Paul
2010


Sunday, January 2, 2011

2011 The Year About Me BLOG CHALLENGE

mycreative-cafe.com


A NEW year, a new YOU. Let this be the year for YOU~

Deadline should be December 30th 2011

Happy Scrappin~

Corrine